
You’ve done it. You negotiated for months, you endured the agonizing six-month waiting period for your Mahindra Thar or Hyundai Creta, and you’ve finally received the call. “Your car is ready for delivery.”
The adrenaline surge is real. You’re already picturing the Instagram story, the smell of the new cabin, and the first long drive.
STOP.
Before you sign that final acceptance form, before you hand over the remaining balance, and definitely before the dealership puts that permanent registration plate on, you need to perform a critical ritual. You need to execute a New Car Pre-Delivery Inspection (PDI).
In the current Indian market, where demand is skyrocketing and dealerships are rushing to meet targets, quality control can sometimes take a backseat during transit or stockyard handling. Accepting a car without a thorough check is like buying a house without looking inside. Once you drive out of the showroom, any minor scratch, dent, or missing accessory becomes your problem, not theirs.
This isn’t just about being paranoid; it’s about being an AutoCritic. It’s about ensuring that the hard-earned money you spent on a pristine machine actually buys you a pristine machine. Don’t get wrecked by excitement. Use our ultimate new car pre-delivery inspection checklist to protect your investment.
Why is PDI Non-Negotiable?
A Pre-Delivery Inspection is not a favor the dealership is doing for you. It’s your legal right as a consumer to inspect a product before accepting delivery. Once you sign the “Car Acceptance Form,” you are officially taking responsibility. While your car will have a warranty, fixing a “pre-delivery defect” under warranty often requires authorization from the manufacturer, causing you to leave your brand-new car at the service center just days after buying it.
A thorough PDI protects you from two main categories of issues:
- Manufacturing Defects: Problems that slipped past factory quality control (e.g., uneven panel gaps, malfunctioning sensors, painting issues).
- Transit and Handling Damage: Accidents during the car’s journey from the factory to the dealership, or minor scrapes that occurred in the stockyard (e.g., bumper scrapes, minor dents, interior stains).
The AutoCritic PDI Playlist: What You Need
Don’t turn up empty-handed. Be professional, be methodical, and have your kit ready:
- A Detailed Checklist: Print this one out, or save it on your phone.
- Daylight: Crucial. Never perform a PDI at night or in a dim showroom. If the dealership insists on an evening delivery, tell them you’ll take the actual delivery after a daylight inspection. Night conceals countless bodywork flaws.
- A Trusted Friend/Family Member: Four eyes are always better than two. When you get distracted by the feature-rich infotainment system, your friend can check the condition of the spare tyre.
- Your Smartphone: To click photos of any defects and check the Vehicle Identification Number (VIN).
The Ultimate New Car PDI Checklist: Step-by-Step
We have divided the inspection into distinct phases. Don’t rush. Allocate at least 60–90 minutes for this process.
Phase 1: The Exterior Walkaround
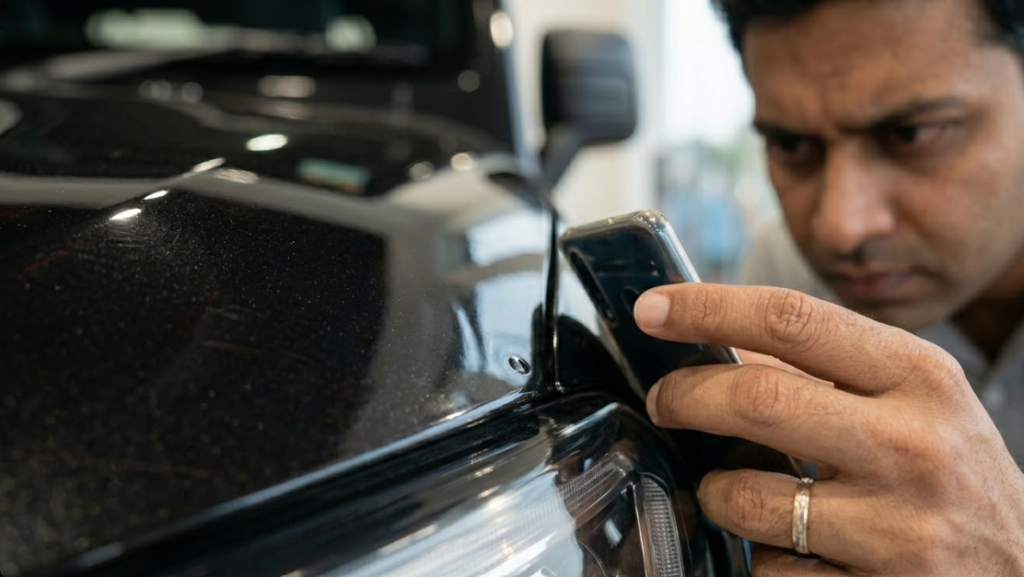
Start from the exterior, using natural light to your advantage.
- 1. Paintwork & Scratches: Walk slowly around the car from multiple angles. Look for swirl marks, scratches, or uneven paint quality. Pay close attention to the bottom sections of bumpers, side mirrors, and door edges. Check for paint bubbles or color mismatch between adjacent panels (which might indicate a hasty repaint job).
- 2. Panel Gaps: Use your finger to check for evenness in the gaps between the bonnet and the fender, the doors, and the boot lid. Manufacturing defects often show as asymmetrical or unusually wide gaps.
- 3. Glass & Mirrors: Check the front windshield, all side windows, and the rear defogger for chips, cracks, or deep scratches. Ensure the side mirrors fold and unfold smoothly (both manually or electronically).
- 4. Tyres: Verify that all four main tyres plus the spare are identical in brand and size (matching the variant specifications). Look for any cuts, bulges, or unusual wear patterns. Most importantly, check the tyre manufacturing date (a 4-digit number code; e.g., “1224” means the 12th week of 2024). Tyres shouldn’t be more than six months old on a new car.
Phase 2: Interior & Tech (The Trend Test)
Now, focus on the interior, especially the advanced technology features that are so prevalent in the modern car landscape.
- 1. Seats & Upholstery: Check the condition of all seats. Look for stains, tears, uneven stitching, or scuffs on leatherette surfaces. Ensure the protective plastic is mostly intact (if it was delivered with it).
- 2. Dashboard & Controls: Inspect the entire dashboard for scratches, panel misalignment, or missing buttons. Test every single switch: power windows, door locks, hazard lights, sunroof, and the steering-mounted controls.
- 3. AC: Start the engine and turn the AC to the maximum cooling setting. Feel for consistent and powerful airflow from all vents (including rear vents). Check for unusual smells or loud fan noise.
- 4. Infotainment & Tech: Trending Check: Modern cars like the Seltos or Scorpio-N come loaded with screens. Test the touchscreen response, connect your phone via Apple CarPlay/Android Auto (wired and wireless), check the Bluetooth connectivity, and use the navigation system. The AutoCritic tip: Play a song you know well and test every single speaker (fade, balance, subwoofer) to ensure no speakers are blown or loose.
- 5. Instrument Cluster & Odometer: Crucial Check: When you turn on the ignition, the instrument cluster must perform a full sweep. Check for any Warning Lights (e.g., Check Engine, Airbag, ABS). If any warning light stays on, do not accept the car. The Odometer reading should be very low. Most new cars will have 20–70 km on the clock, which is normal for factory testing and transit. Any reading above 100 km requires a clear and logical explanation from the dealership.
Phase 3: Under the Hood (Engine & Fluids)
Ask the salesperson to open the bonnet for you.
- 1. Visual Inspection: Look for excessive dust, rust, loose wires, or entangled cables. While some dust is normal, a messy or damp engine bay is a red flag.
- 2. Fluids: Check the levels for all essential fluids: Engine Oil, Coolant, Brake Fluid, and Windshield Washer Fluid. They should all be at the ‘Max’ or ‘Full’ mark and look clean (e.g., oil shouldn’t be dark black).
- 3. Battery: Find the physical battery manufacturing date (e.g., sticker code). It should be relatively new. Check the terminals for any sign of corrosion (white/blue crust), which may indicate the car has been sitting in the stockyard for too long.
Phase 4: The Static Test & Test Drive
With the car now fully prepared, it’s time to assess its behavior.
- 1. Engine Sound: When the engine starts, listen carefully. It should have a smooth, steady idle. Listen for any unusual clicks, wheezing, or rattling. For an Electric Vehicle (EV), this phase will be almost silent, which makes other cabin noises (like the AC fan or a loose trim panel) more obvious.
- 2. Gearshifts (Manual/Automatic): Press the clutch (if applicable) and engage every gear, including reverse. For an Automatic, shift from ‘P’ to ‘R’ to ‘N’ to ‘D’. The shifts should be smooth, without excessive effort or jerks.
- 3. Reverse Camera & Sensors: Use the car’s reverse function. Check the clarity of the reverse camera (especially in different light conditions) and ensure the dynamic guiding lines are accurate. Test the parking sensors on all sides.
Special: PDI for Electric Vehicles (EVs)
If you’re taking delivery of a new EV like a Tata Nexon.ev or MG ZS EV, your PDI checklist needs some specific additions:
- Battery State of Health (SoH): Ask the dealership to provide a printout or digital proof of the Battery SoH from their diagnostic tool. It should be 100%. If it’s less, the car may have been stored incorrectly or used as a test drive model.
- Charging Ports & Cables: Open both the AC and DC charging ports. Check for any dust, damage, or moisture. Verify that the dealership has included the portable charging cable (the EVSE) in the boot.
- In-Car Telematics: Modern EVs rely heavily on mobile apps. Ensure that the e-SIM is activated and that the salesperson demonstrates that the car’s telematics system (like Tata ZConnect or MG i-SMART) works on your phone before you drive off.
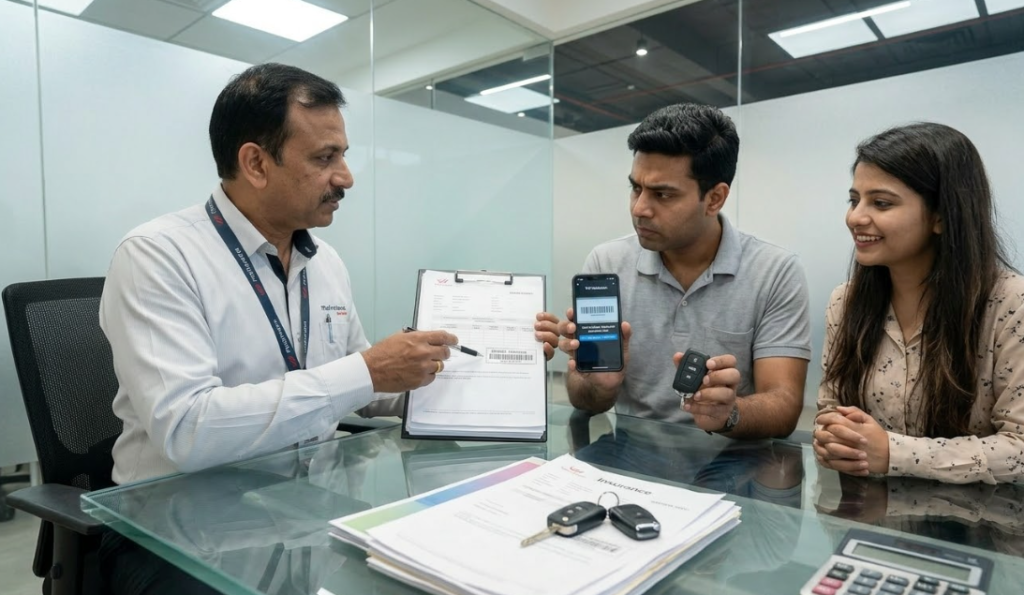
Phase 5: The Boring But Critical Documentation Check
The physical car check is done. Now, sit down with the salesperson and review the paperwork. A simple clerical error here can cause huge RTO headaches.
- 1. VIN Check: The most important step. Cross-verify the Vehicle Identification Number (VIN) stamped on the car’s firewall or chassis (near the passenger seat or driver-side door B-pillar) against the Invoice, the Temporary Registration, and the Insurance Policy. They must be identical. Use a VIN decoder app (many are available for free) to verify the month and year of manufacture.
- 2. Invoice: Check for the correct breakdown of Ex-Showroom Price, GST, RTO charges, Insurance, and any Handling Charges (which are now illegal in most parts of India). Verify the exact model, variant, and color description.
- 3. Insurance: Ensure the coverage is valid from the moment of delivery. Confirm that the policy includes Zero Depreciation (highly recommended) and correctly spells your name and the VIN.
- 4. Warranty & Service Book: Check that all the free service coupons are intact and that the dealer has stamped the Warranty Booklet with the date of delivery. Ask for any Extended Warranty documentation if you opted for it.
- 5. Spare Key & Tools: Confirm that you have received both keys (they must both work) and that the toolkit (jack, spanner, hazard sign) is present in the boot.
What to Do If You Find an Issue?
Finding a scratch or a malfunctioning sensor during PDI is very common. The key is how you handle it:
- Don’t Accept a Verbal Promise: If the dealer promises to “fix it during the first service,” ask them to give this promise to you in writing, dated and signed by the showroom manager.
- Request Rectification Before Delivery: If it’s a paint chip or a loose accessory, request them to fix it before you drive out. If it is a major mechanical or electrical issue (like a check engine light or transmission jerk), do not accept that specific vehicle. Demand a different VIN (which may require a longer wait time, but it’s better than a broken new car).
- Get a Written “PDI Rectification Form”: This form documents every single issue you find, and you and the dealership should sign it. This creates a clear paper trail for future warranty claims or RTO issues.
Conclusion: Trust, but AutoCritic
Taking delivery of your new car is one of life’s genuine high points. You’ve worked hard for it, and you deserve every moment of joy. But to ensure that joy remains untainted, spend that extra hour being meticulous.
Dealerships in 2024 are under immense pressure to deliver popular, waiting-list-loaded cars like the Toyota Innova Hycross or Mahindra XUV700. A PDI isn’t about distrusting them; it’s about being a smart consumer. It shifts the liability of defects back to the dealership before you accept ownership.
Trust, but verify. Use this new car pre-delivery inspection checklist to make sure the only surprise you have is how amazing your new car smells.
Is there a specific nightmare PDI story you have? Or a defect you spotted that saved you from a huge headache? Tell us in the comments below!